My mini homelab
hi! i’ve always been a fan of computers and specifically Linux. Even though i use a mac i’ve been a pro-linux guy. I really like the Linux ecosystem.
I’ve also been visiting r/homelab and other sub-reddits since a long time.
I decided to have a homelab but didn’t knew where to start. Servers cost a lot and i wasn’t a big fan of second-hand hardware. I didn’t have much to host and wanted to keep the power-usage low.
I decided to go with a Raspberry Pi 4 in October but when researching, I found Raspberry Pi 5 to be coming soon which was much more powerful. I waited for a few days and it launched on 23rd October but the wait was followed by another month for it to be available in my country and finally bought it along with the Active Cooler.
The Raspberry Pi power supply isn’t available in my country yet and i use a local power supply cable with a 100W adapter but yeah i’ll the official one when available. I did have a low voltage issues with a amazonbasics 60W usb c cable so i switched to a 5A usb cable which surprisingly works.
Software
I decided to use DietPi as the OS but it didn’t support Raspberry Pi 5. At the time of writing there’s a beta image ready for testing which has worked for some people but i’m waiting for a stable release. I went with the official Raspberry Pi OS. Flashed it on a 234G SD card (i didn’t have any other SD cards available ;-; ) and boom, The Raspberry Pi was up. I installed docker and docker-compose to host stuff.
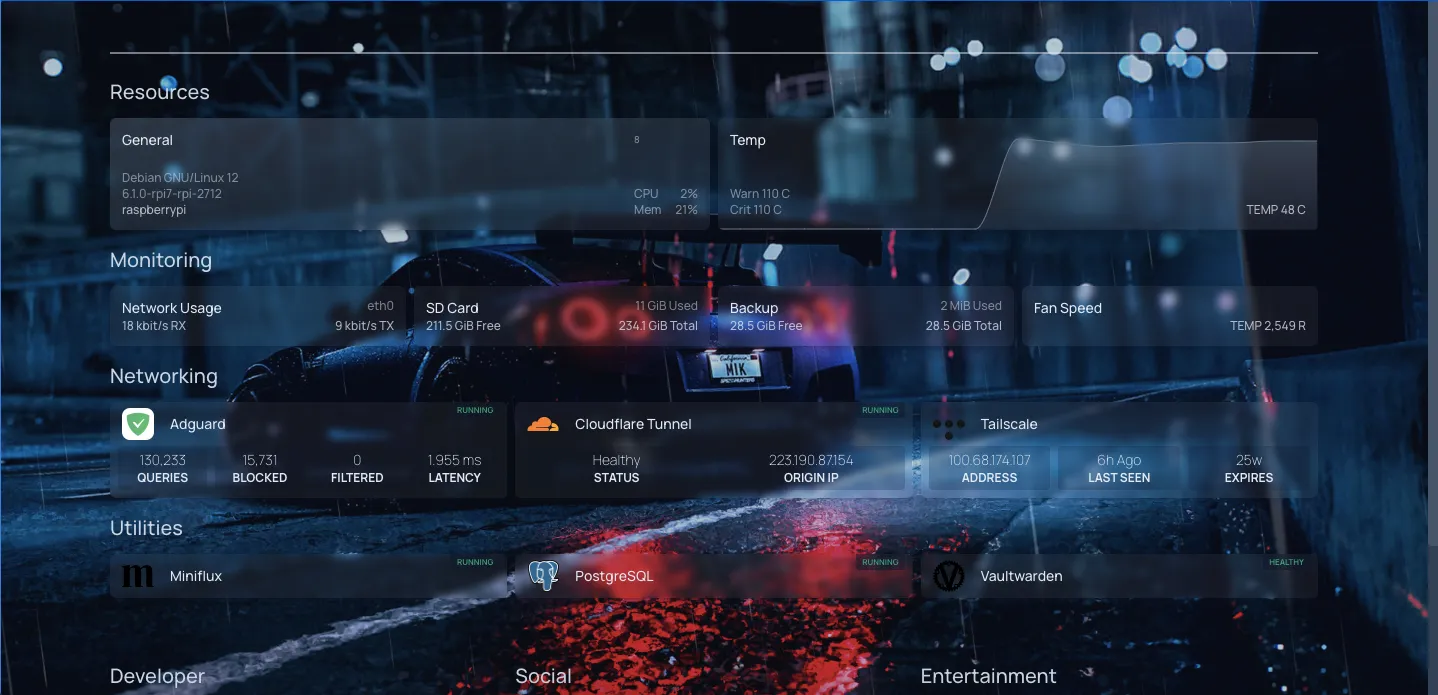
I decided to host Adguard Home as of now but i do plan to host a NAS server once The Raspberry Pi M.2 HAT for SSDs comes out.
Hosting
I had adguard home up, Set it up on my router as well. I also hosted Vaultwarden for managing my passwords. Now to expose it to the internet i had 2 options:
- Dynamic DNS with DuckDNS
- Cloudflare Tunnels
I choose Cloudflare Tunnels since it was a more reliable option. I used Erisa’s docker image to run cloudflared.
And Finally i could use the password manager on my own domain.
I even host Miniflux.
I further setup Homepage and exposed it on pi subdomain and locking it behind Cloudflare Access.
I further wanted my raspberry pi to be remotely accessible. One solution was to use Wireguard but since i was behind a Carrier-Grade NAT i don’t have a public IPv4 and neither did i wanted a static ip, I do have a public IPv6 but didn’t wanted my devices to be restricted to support IPv6 so i went with Tailscale which is a very nice option.

Case
From the beginning i wanted a transparent Acryllic case for that beautiful SBC to be clearly visible. The official case too didn’t behave too nice with the Active Cooler. here
I saw Jeff Geerling use a sort of thin acryllic sheet with the Pi mounted on top of it. Once case which quite familiar to it was the Geeek Pi ICE Tower Cooler Case but it seemed too expensive to me. So i decided to do it myself.
I got an acryllic sheet and an acryllic drill bit combined for nearly a dollar. Second, I needed standoffs and screws which i got for nearly 2 dollars (yeah quite expensive since i had to order them online since no local shops near me had that specific size M2.5)
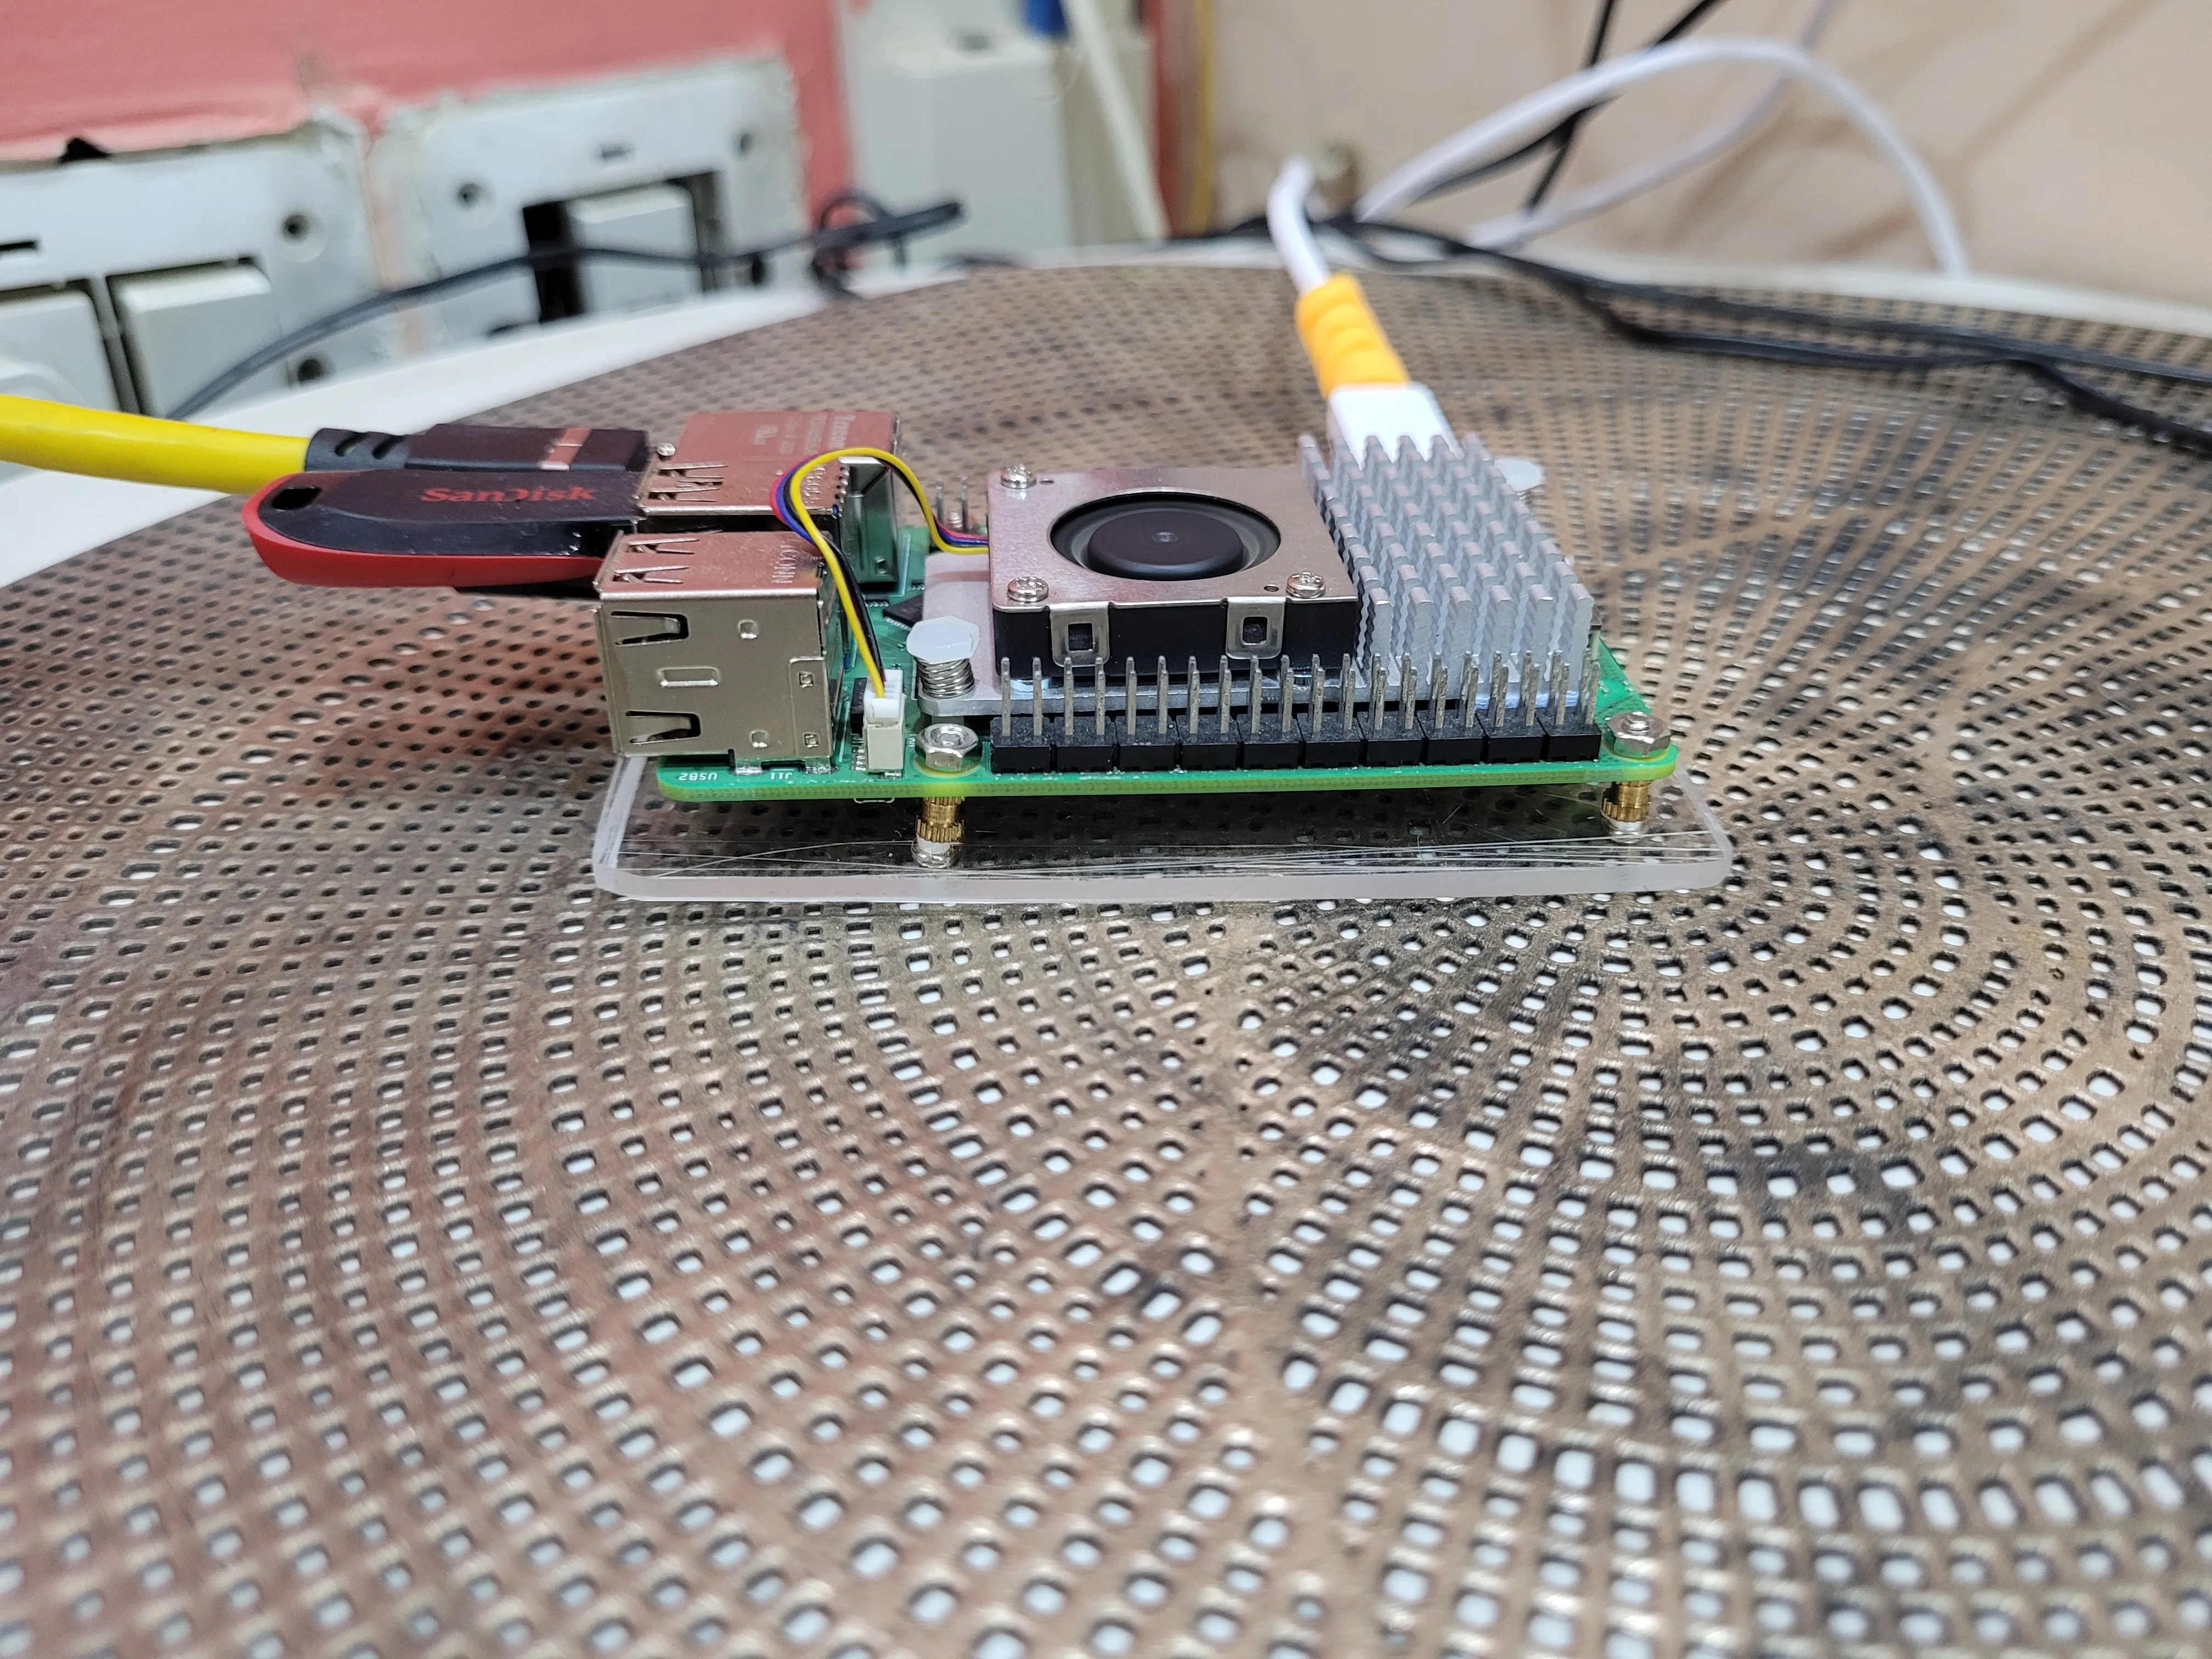
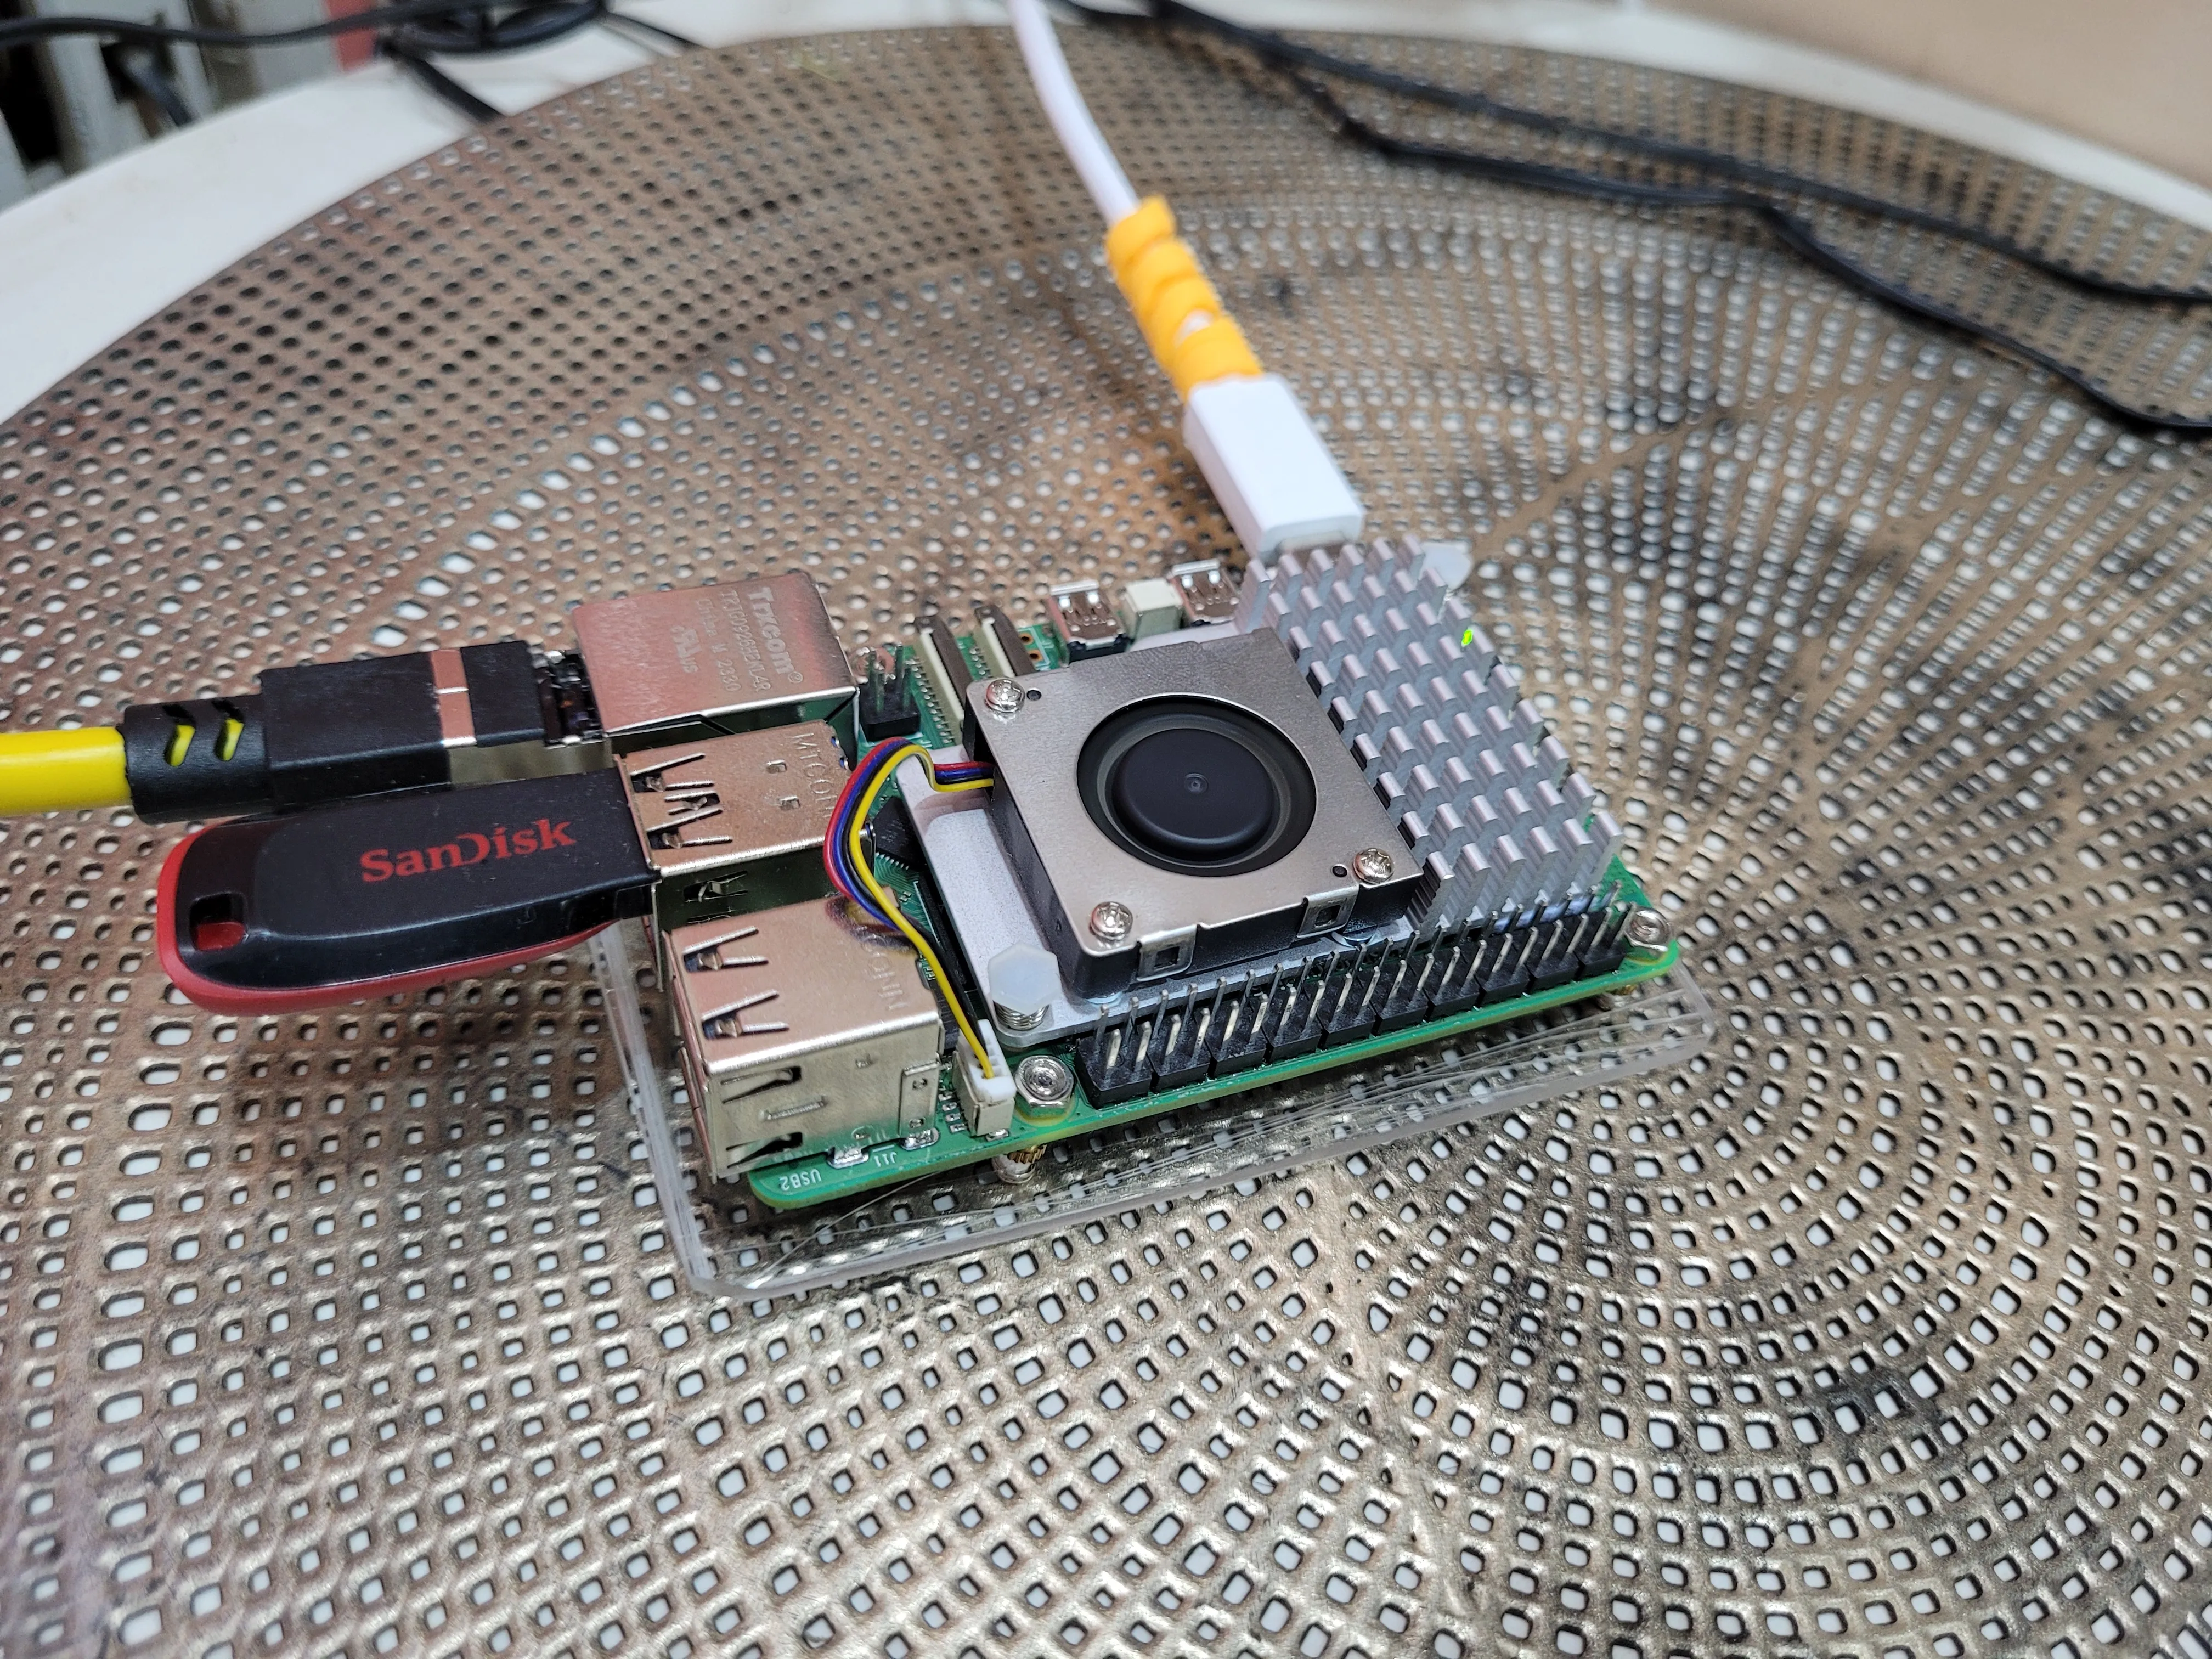
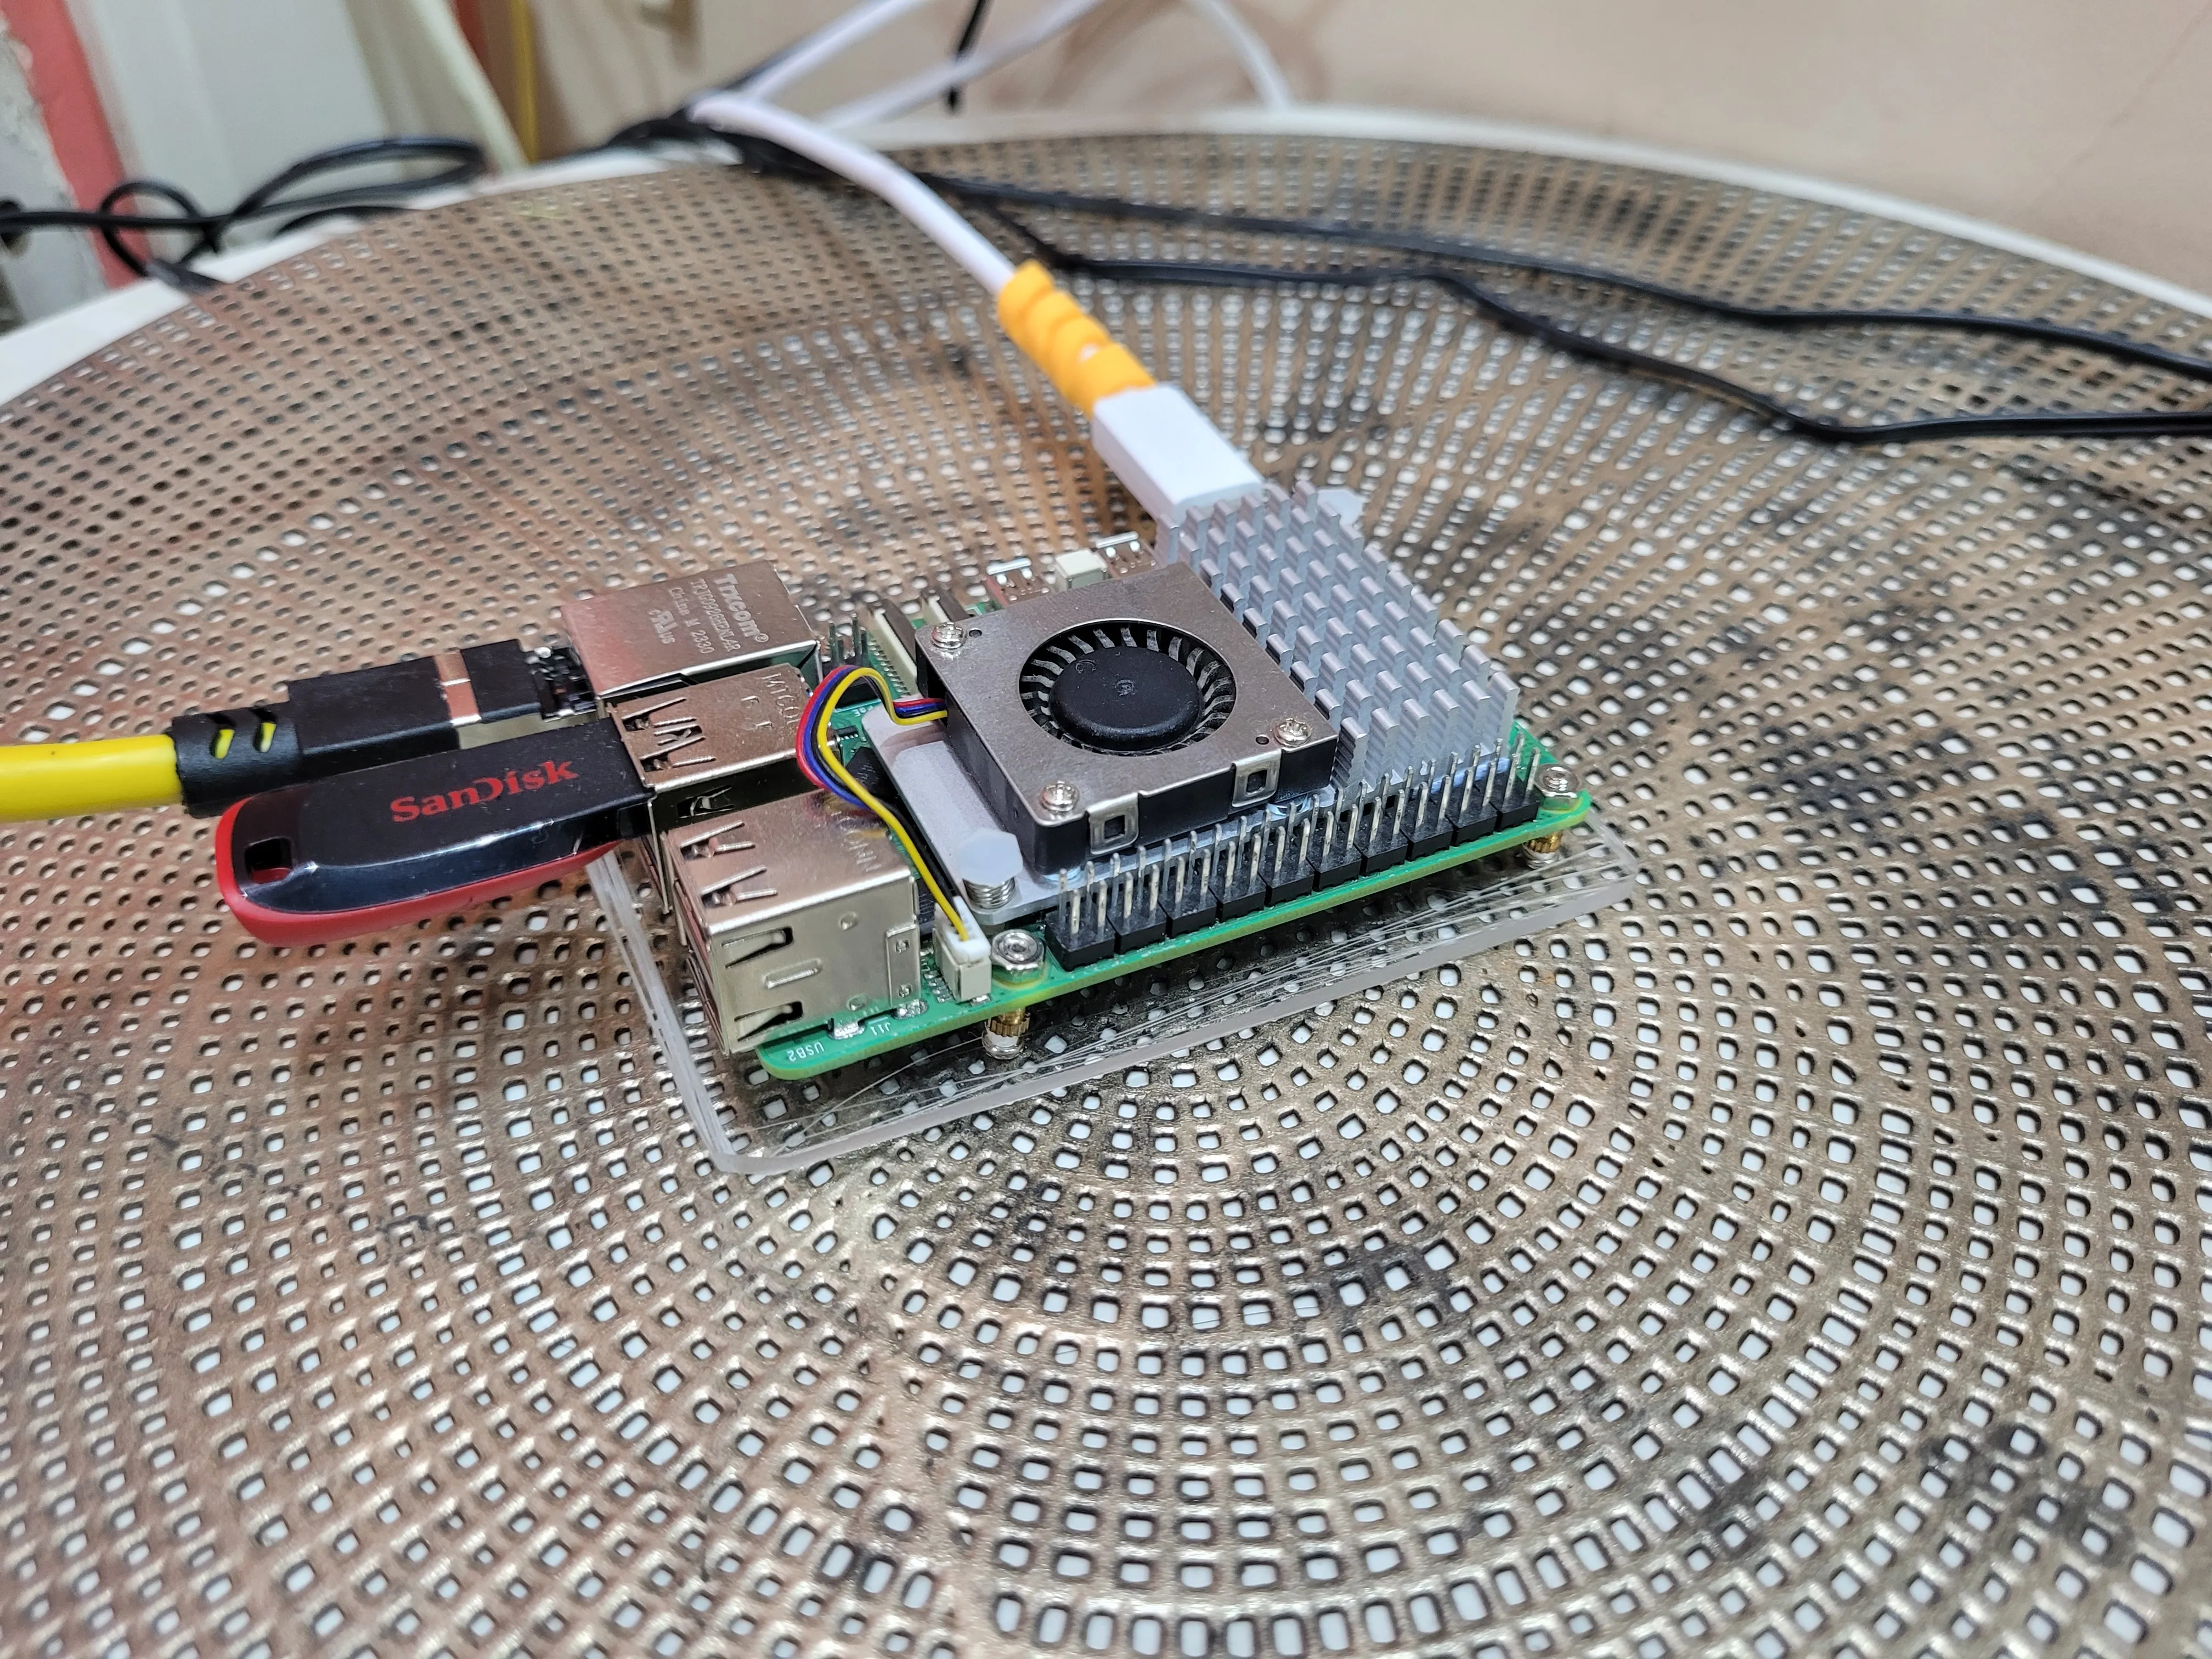
I drilled the acryllic and cut the acryllic to the Raspberry Pi’s shape (doesn’t look perfectly nice though) I scratched the acryllic multiple times using the Cutter and finally mounted the Pi onto it.
Here’s what it looks like now:


PS: The Pen drive is used to store backups of my passwords using rclone.
If you liked this post, Make sure to follow me on X